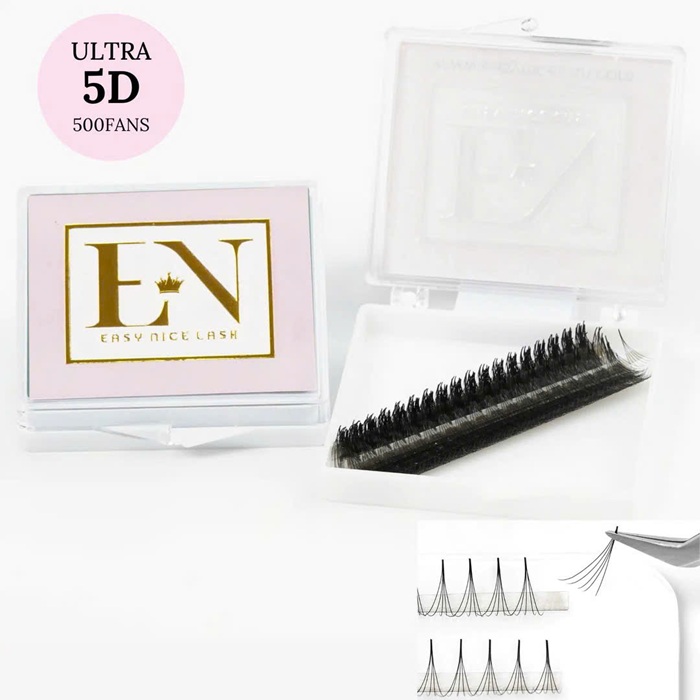
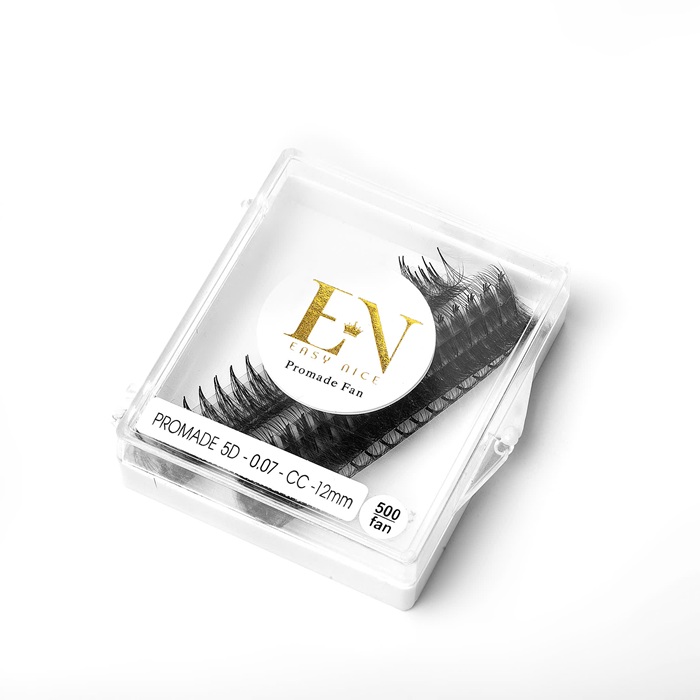


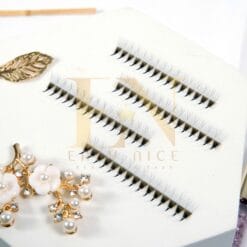
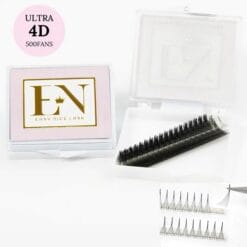
Strip pre made fans lashes are pre-crafted eyelash extensions attached to a strip for easy application, designed to save time for lash technicians while delivering voluminous, professional results. Here’s a breakdown of key details:
What Strip Pre-made Fans Lashes Are:
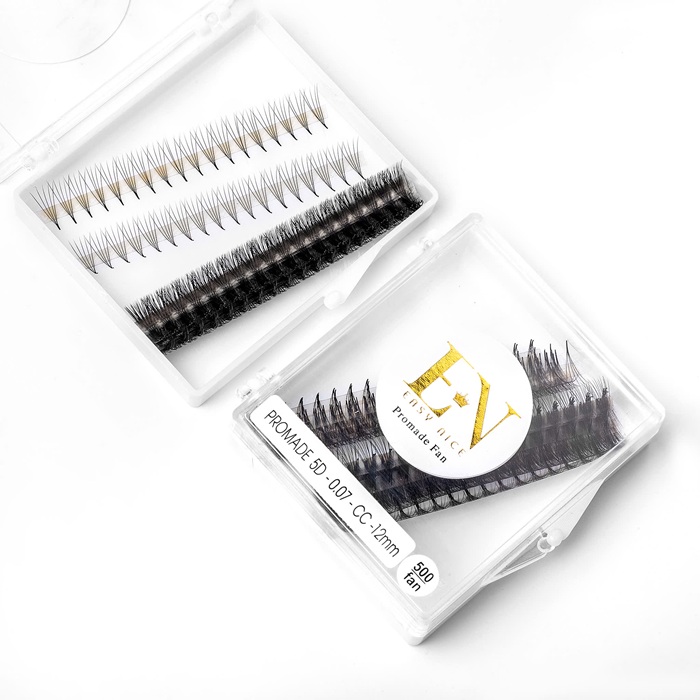
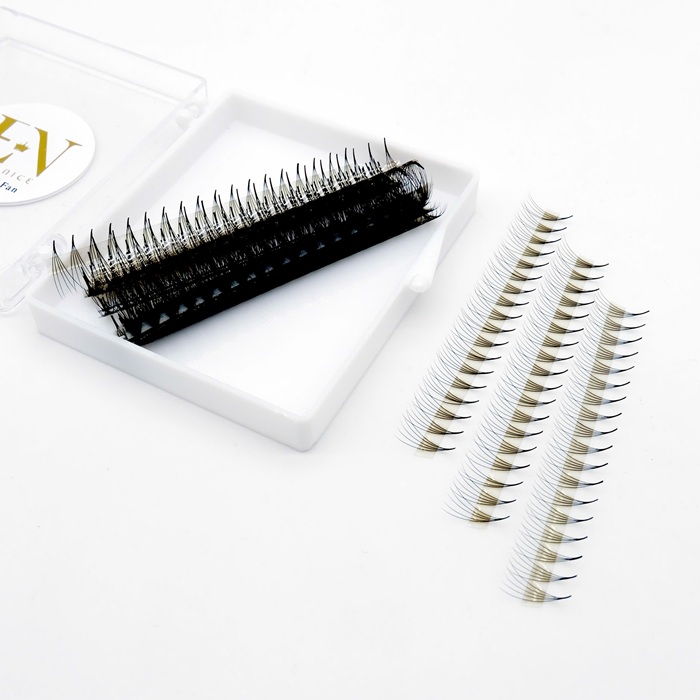
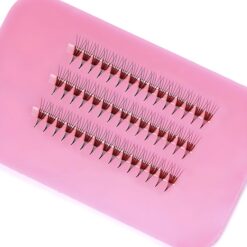
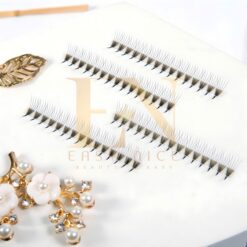
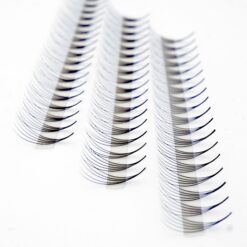
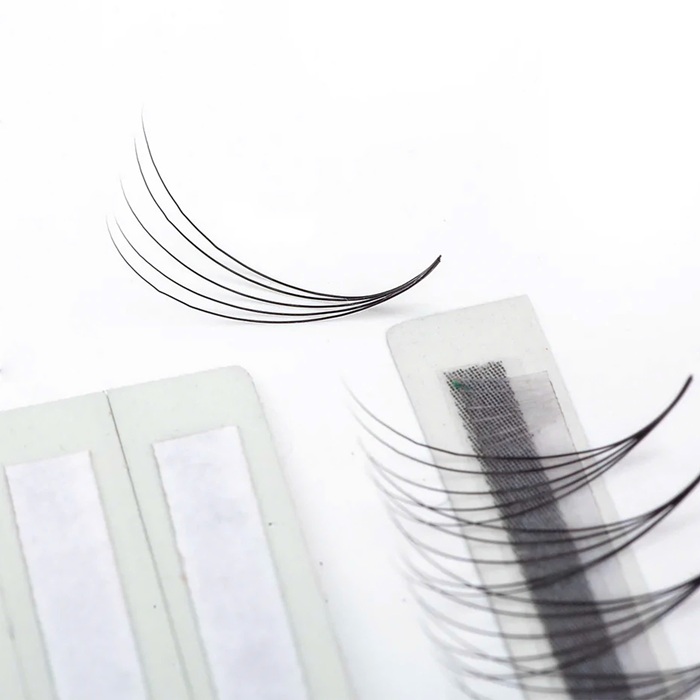
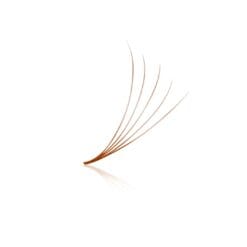
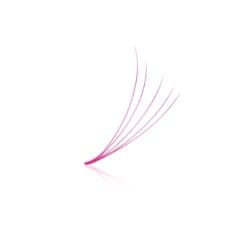
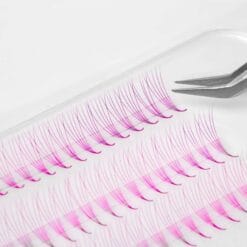
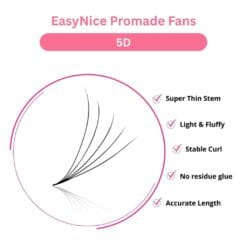
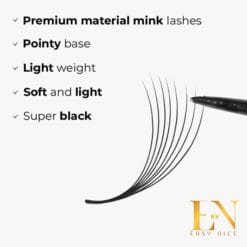
Strip premade fans lashes consist of multiple lash strands (typically 3D to 16D, meaning 3 to 16 lashes per fan) bonded at the base to form a fan shape. Unlike machine-made premade fans, pro-made fans are often handmade by skilled lash artists, ensuring a more natural look with minimal adhesive. They’re attached to a strip (often foil-backed or silicone) for quick pickup during application.
Benefits:
- Time-Saving: They eliminate the need to create fans manually, cutting application time significantly sometimes by half compared to loose fans or handmade volume sets. This allows technicians to serve more clients.
- Ease of Use: Fans are pre-arranged on strips, making them beginner-friendly. Technicians only need a classic lash certification to use them, not advanced volume training.
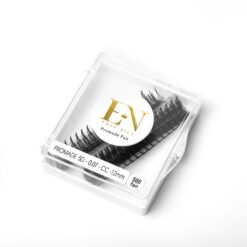
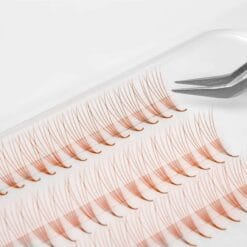
- Versatility: Available in various curls (C, CC, D, L, M), lengths (7mm to 20mm), and diameters (0.03mm to 0.10mm), they suit styles from hybrid to mega volume or wispy looks.
- Lightweight and Natural: Made from high-quality synthetic fibers like Korean PBT, they’re soft, durable, and designed not to weigh down natural lashes, promoting retention.
Application:
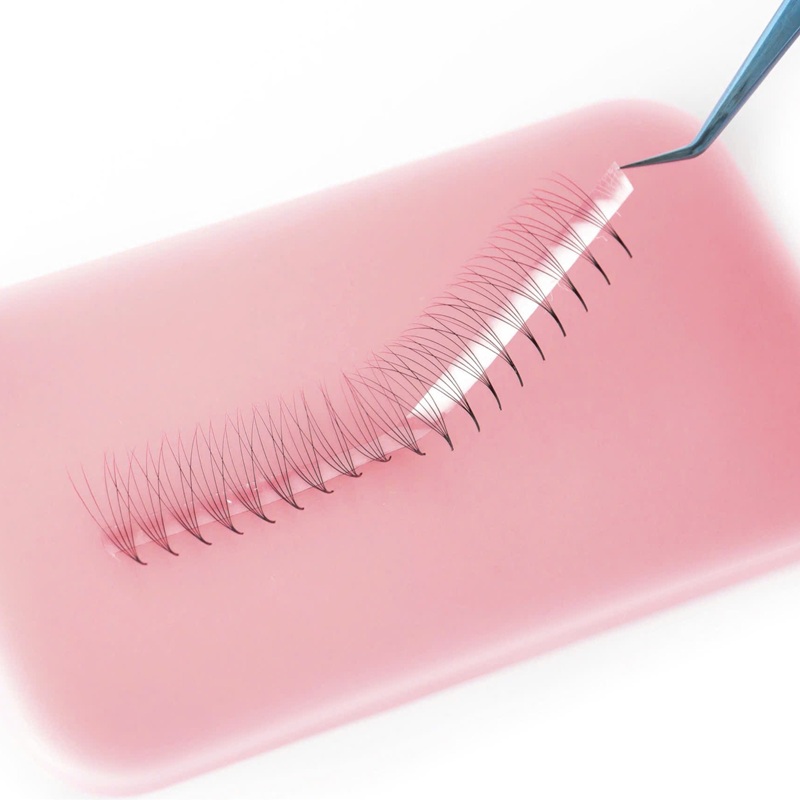
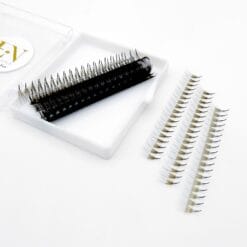
- Pre made fans lashes are placed on a silicone pad for stability. Technicians gently pick fans from the strip using tweezers, applying them to natural lashes with adhesive.
- Tips for best results: Apply from the side or underneath for better retention, avoid primer, and choose fan sizes that match the client’s natural lashes to prevent damage.
Features of Strip Pre made Fans Lashes
- Pointed Bases: Many have sharp, compact bases for seamless attachment and maximum retention.
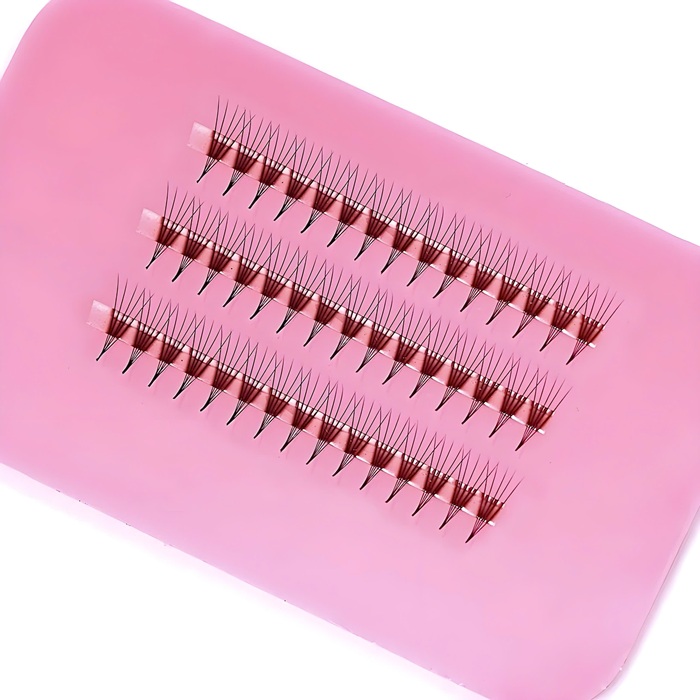
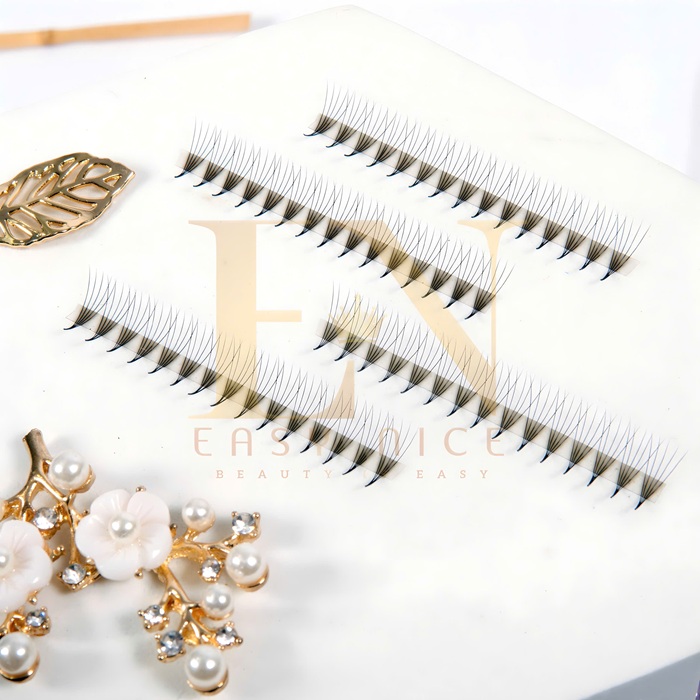
- Quantity: Trays typically contain 500-1,000 fans, enough for multiple full sets (e.g., 500 fans can cover 2-3 Russian volume sets).
- Eco-Friendly Options: Some brands use recyclable packaging or vegan, cruelty-free materials.
- Styles: Options include narrow fans for dense looks, wispy fans for textured styles, or even colored fans for creative sets.
Considerations:
- Cost: More expensive than single lash trays due to labor-intensive production (e.g., ~3-4 cents per fan). However, they’re cost-effective for time saved.
- Customization Limits: Less adjustable than handmade fans, so technicians may need to blend lengths or styles for unique looks.
- Learning Curve: While easier, proper technique (e.g., avoiding quick pulls to prevent fan damage) is still required.
- Use Cases: Ideal for busy salons, new lash artists, or clients wanting fuller looks without long appointments. They’re great for dramatic styles like Russian volume or softer hybrid sets
SEE MORE: 6D Promade Lash

Applying pre made fans lashes effectively requires precision to ensure a natural look, strong retention, and client comfort. Below are key application techniques tailored for strip pre made fans lashes:
- Preparation:
- Clean Lashes: Ensure the client’s natural lashes are clean and oil-free using a gentle lash cleanser or foam shampoo. Avoid primer, as it can weaken adhesive bonds with pro-made fans.
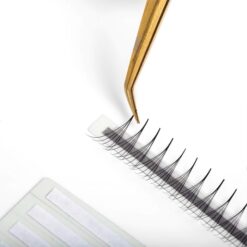
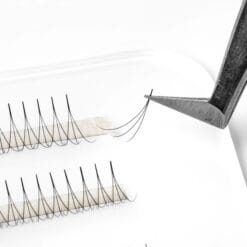
- Setup Strip: Place the foil-backed or silicone of strip pre made fans lashes on a silicone pad or lash tile to keep it stable. Peel off any protective cover carefully to avoid damaging fans.
- Select Tools: Use fine-tipped, curved volume tweezers (e.g., 45-degree or L-shaped) for precise fan pickup and application. Have a separate pair of isolation tweezers ready.
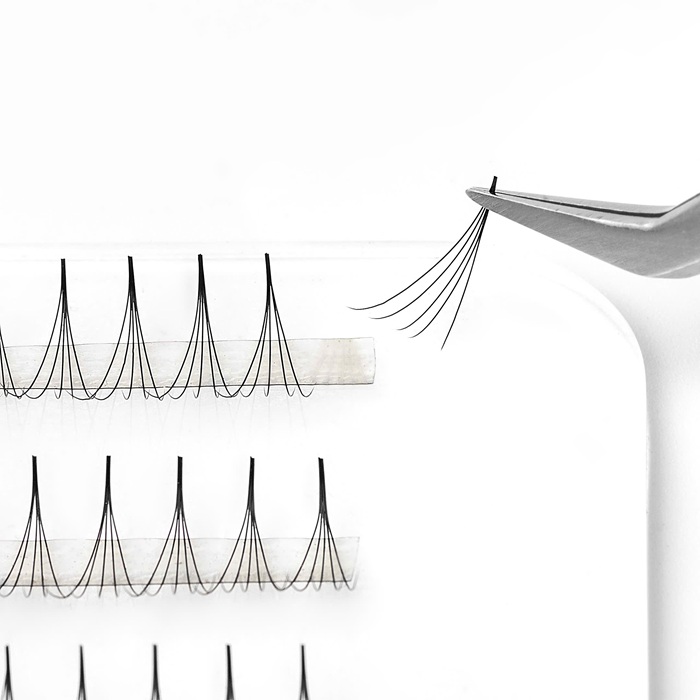
- Picking Up Fans:
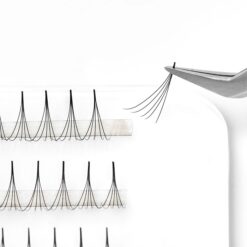
- Gentle Grip: Hold the fan near the base (not the tips) with tweezers to avoid closing or damaging it. Lightly pinch the base where it connects to the strip.
- Smooth Removal: Pull the fan slowly and straight off the strip pre made fans lashes to prevent twisting or adhesive residue. Avoid quick tugs, which can deform the fan.
- Check Symmetry: Before applying, inspect the fan to ensure it’s intact and evenly spread. If it’s uneven, gently adjust with tweezers or discard it.
- Application Techniques:
- Side Approach:
- Isolate a single natural lash using isolation tweezers.
- Remove a fan from one of the pre made fans lashes, remembering to use tweezers to grip the base of the fan to lift it
- Dip the fan’s base lightly into adhesive (use low-humidity, fast-drying adhesive for volume lashes, e.g., 1–2-second cure time).
- Approach the natural lash from the side, aligning the fan’s base parallel to the lash. This ensures a tight wrap around the natural lash for better retention.
- Place the fan 0.5-1mm above the lash line to avoid skin contact and ensure comfort.
- Underneath Approach:
- Isolate the natural lash and dip the fan’s base in adhesive.
- Slide the fan upward from beneath the natural lash, letting it hug the lash as it settles. This technique helps fans sit flush and look seamless.
- Hold briefly (1-2 seconds) until the adhesive sets, then release gently.
- Wiggle Technique (for pointed-base fans):
- After dipping, lightly wiggle the fan onto the isolated lash to spread adhesive evenly around the base. This enhances grip and prevents slipping.
- Ensure the fan’s base fully wraps the natural lash without sticking to neighbors.
- Side Approach:
- Placement Tips:
- Match Lash Size: Choose fan lengths and diameters that suit the client’s natural lashes (e.g., 0.05mm fans for weak lashes, 0.07mm for stronger ones). Avoid overloading thin lashes to prevent damage.
- Layering for Volume: For fuller looks (e.g., Russian or mega volume), apply fans to 70-80% of natural lashes, varying lengths (e.g., 9mm inner corners, 12mm outer) for a gradient effect.
- Wispy Styles: Alternate fan sizes (e.g., 10mm and 12mm) or mix pro-made fans with single classics for textured, spiky looks.
- Check Gaps: After each fan, ensure no natural lashes are stuck together. Use a micro brush to separate if needed.
- Post-Application:
- Cure Adhesive: Use a nano mister or nebulizer (low mist setting) 1-2 minutes after finishing to cure adhesive fully, reducing fumes and improving retention.
- Brush Lashes: Gently comb through with a clean mascara wand to align fans and check for stickies (lashes glued together).
- Retention Check: Advise clients to avoid water, steam, or oil-based products for 24-48 hours to maximize adhesive bonding.
- Pro Tips:
- Fan Direction: Angle fans slightly outward on outer corners for a cat-eye effect or upward for a lifted look.
- Adhesive Control: Use minimal adhesive (a tiny bead) to prevent clumping, especially with fine-diameter fans (0.03-0.05mm).
- Work in Sections: Divide the eye into zones (inner, middle, outer) and complete one zone per eye before switching to maintain symmetry.
- Practice on Mannequins: If new to pre-made fans lashes, practice on a mannequin head to master pickup and placement without pressure.
These techniques streamline the process while ensuring durability (fans can last 4-6 weeks with proper care)
FOLLOW US ON INSTAGRAM: @easynicelashes_official


josiehannah –
These lashes are flawless the base is perfect, they never fall apart when picking them up, and they adhere seamlessly for a pristine application. Every time I use them, I get that dreamy, mega-volume look my clients go crazy for! ❤️
Hands down, my #1 lash brand EVER—I’m obsessed! 😍
Easy Nice Lashes –
thank you